A Royal Upgrade to the Classic French Mani
Few nail designs are as timeless as the classic French tip. It flatters all nail shapes and lengths, offering a polished look with endless variations—think rainbow hues, mixed prints, or minimalist accents. While the French tip remains a staple, 2025 is ushering in a regal twist: nail crowns.
If you’re a fan of French manicures, you’re bound to fall in love with this elevated style. The tiny embellishment adds an extra layer of sophistication, making your nails look effortlessly luxurious. But don’t just take our word for it—celebrity nail artist Julie Kandalec shares everything you need to know about this trending mani.
What Are Nail Crowns and Why Are They Trending?
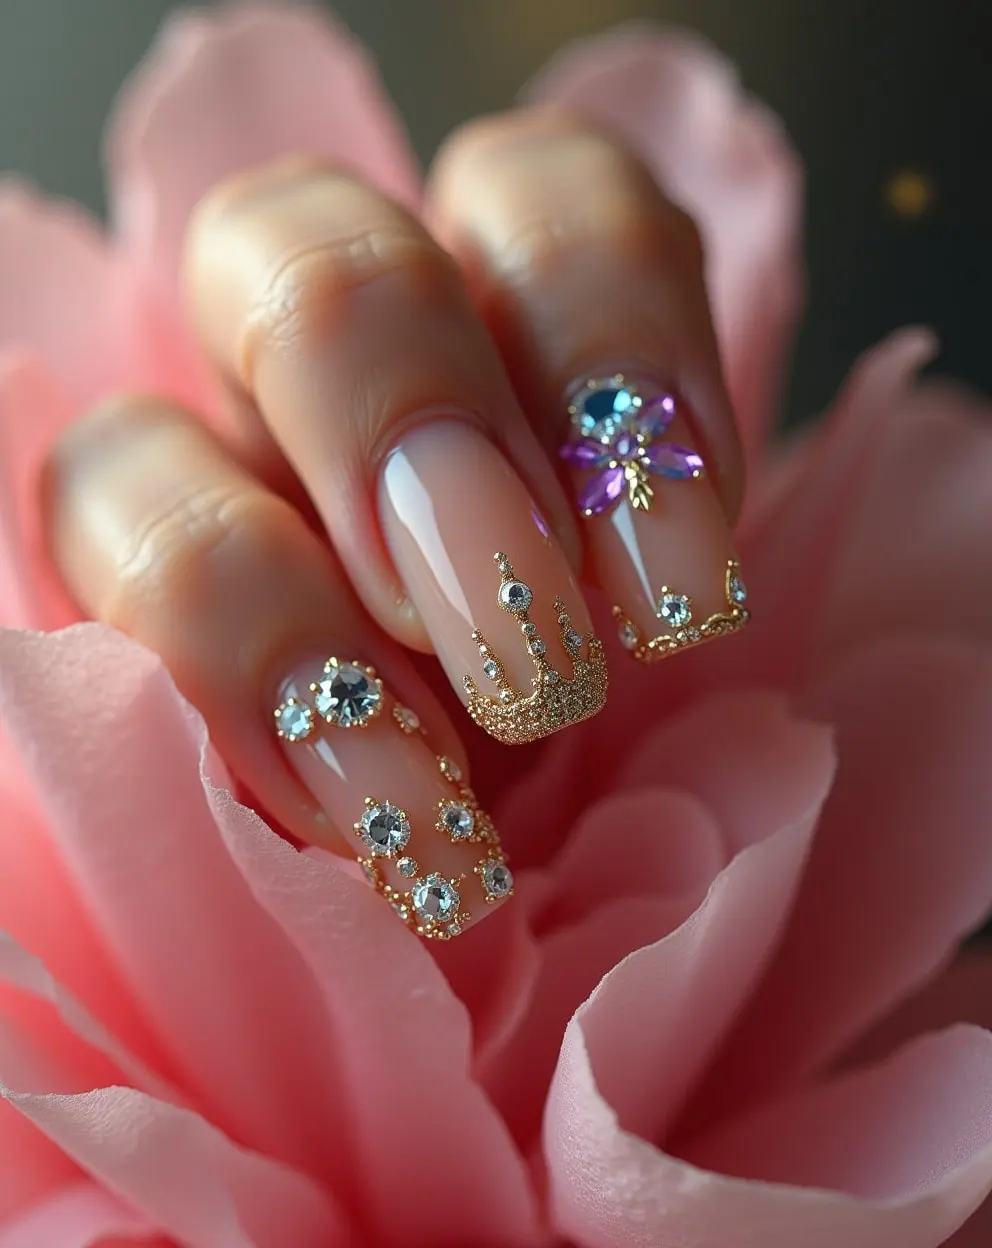
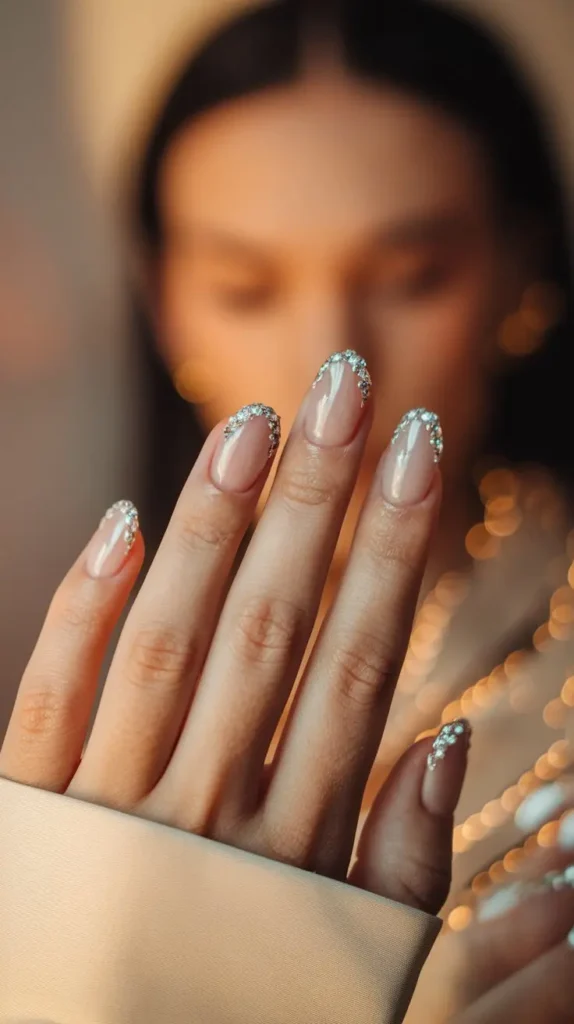
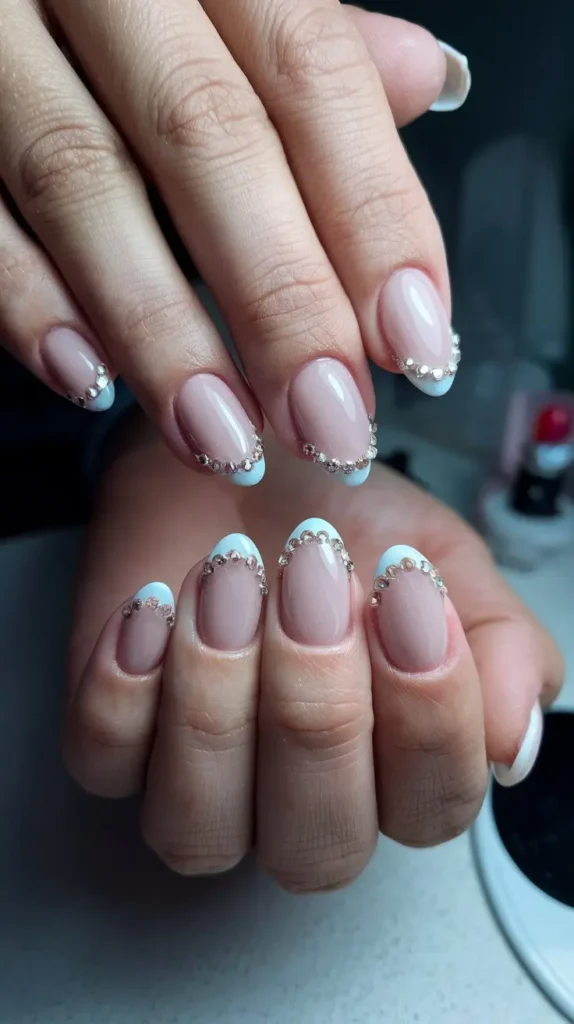
As the name suggests, nail crowns resemble dainty, gem-studded tiaras adorning your fingertips. While similar to a jewel-studded French manicure, this design features a precise row of gemstones outlining the smile line—just where you’d normally paint your French tip.
According to Kandalec, this approach offers a more refined take on the bejeweled nail trend. “Instead of scattering gems randomly across the nail, we’re placing them neatly along the tip,” she explains. The result? A sophisticated sparkle that’s both chic and understated.
Though dramatic, glitter-packed nails will always have their moment—especially around the holidays—nail crowns provide an elegant alternative. This structured approach to gemstones feels polished and timeless, making it the go-to nail trend of 2025.
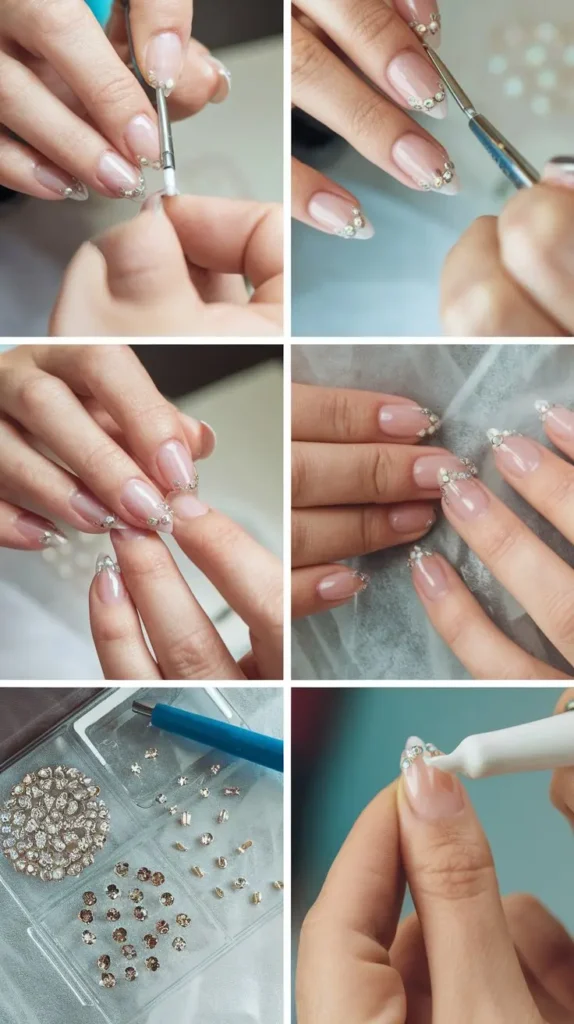
How to Create Nail Crowns at Home
Want to try nail crowns yourself? Follow these simple steps to achieve the look:
Step 1: Select Your Gems
Kandalec suggests starting with the smallest jewels at the corners of your nail, gradually increasing the size toward the center to create a tiara effect. Many nail art kits include multiple gem sizes, making this an easy DIY project.
Step 2: Apply Your Base Coat
Paint one layer of topcoat on the entire nail plate. While it’s still wet, use a dotting tool to pick up your chosen gem and carefully place it on the smile line.
Step 3: Secure the Gems
Gently press each gem into place, repeating the process until your crown is complete. Once satisfied with the arrangement, seal the design with another coat of topcoat.
For Gel Nails:
If using gel polish, place the gems into uncured gel and cure under a lamp. Then, outline the gemstones with another layer of gel and cure again. Be sure to apply gel around, not over, the gems to maintain their sparkle.
Step 4: Experiment with Colors
While silver and gold gems exude classic elegance, you can also mix things up with vibrant hues. Kandalec loves pairing pink and green for a bold contrast or opting for subtle color combinations like blue and purple. No matter the shades, keeping the base nude will allow the jewels to take center stage.
More Nail Crown Ideas to Try
Love the concept but short on time? Here are some alternative ways to rock the nail crown trend:
- Stick-On Gems: Brands like Deco Beauty offer gem stickers that create an effortless crown effect—no placement skills required. Even Kylie Jenner has been spotted sporting these chic nail decals!
- Magnetic Polish: Create a jewel-like illusion by applying tiny dots of magnetic polish at the nail’s tip and waving a magnet over them for a multidimensional effect.
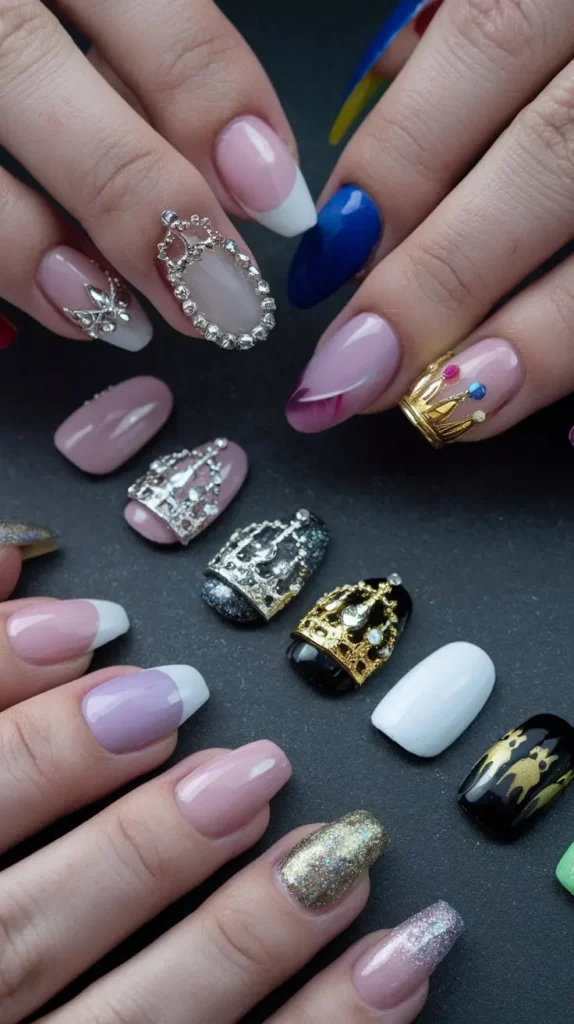
- Press-On Nails: Pre-designed press-ons are a quick way to achieve this look with zero effort. Kiss offers elegant designs that mimic the nail crown trend.
- Glitter French Tips: For a subtle take, swap gems for metallic glitter polish along the tip. Gold and silver shades naturally create a dazzling crown effect.